
Your WordPress site is where people find you — but Square's default link sends them away and your analytics go blind. iBooker.online keeps visitors on your site and tells Google and Meta when someone actually books.
What's wrong with Square's usual booking link?
Square gives you a booking page — and that's great for taking appointments. But it's not built for marketing. You can't add Google Analytics or a Facebook Pixel there. You can't see which ad or Instagram post brought the customer. And when they finally book, Google Ads and Meta don't get a “conversion” — so your ads keep guessing instead of learning what works.
- No place to paste your analytics or pixel code.
- Customer leaves your website — you lose track of where they came from.
- A finished booking doesn't show up as a conversion in your ad accounts.
- You can't retarget people who almost booked but dropped off.
Even if you installed analytics plugins on WordPress, they stop working the moment the customer books on Square's separate website.
What iBooker.online does differently
We plug into your Square account and put a booking window on your own website. Same Square calendar behind the scenes — but now your marketing tools finally see the bookings:
- Paste your Google Analytics and Meta Pixel IDs once — no developer needed.
- See every step: customer picked a service, reached checkout, and finally booked.
- When someone books, Google and Meta get a real “purchase” with the price of the service.
- Booking still happens in Square — your calendar, staff, and payments stay exactly as they are.
- We don't keep a copy of your customer list — Square stores the appointment.
- The widget loads in the background and doesn't slow down your site.
- Your colors, your logo vibe, your “Book now” button — it looks like your brand.
- Try free for 7 days, then simple monthly pricing per booking page.
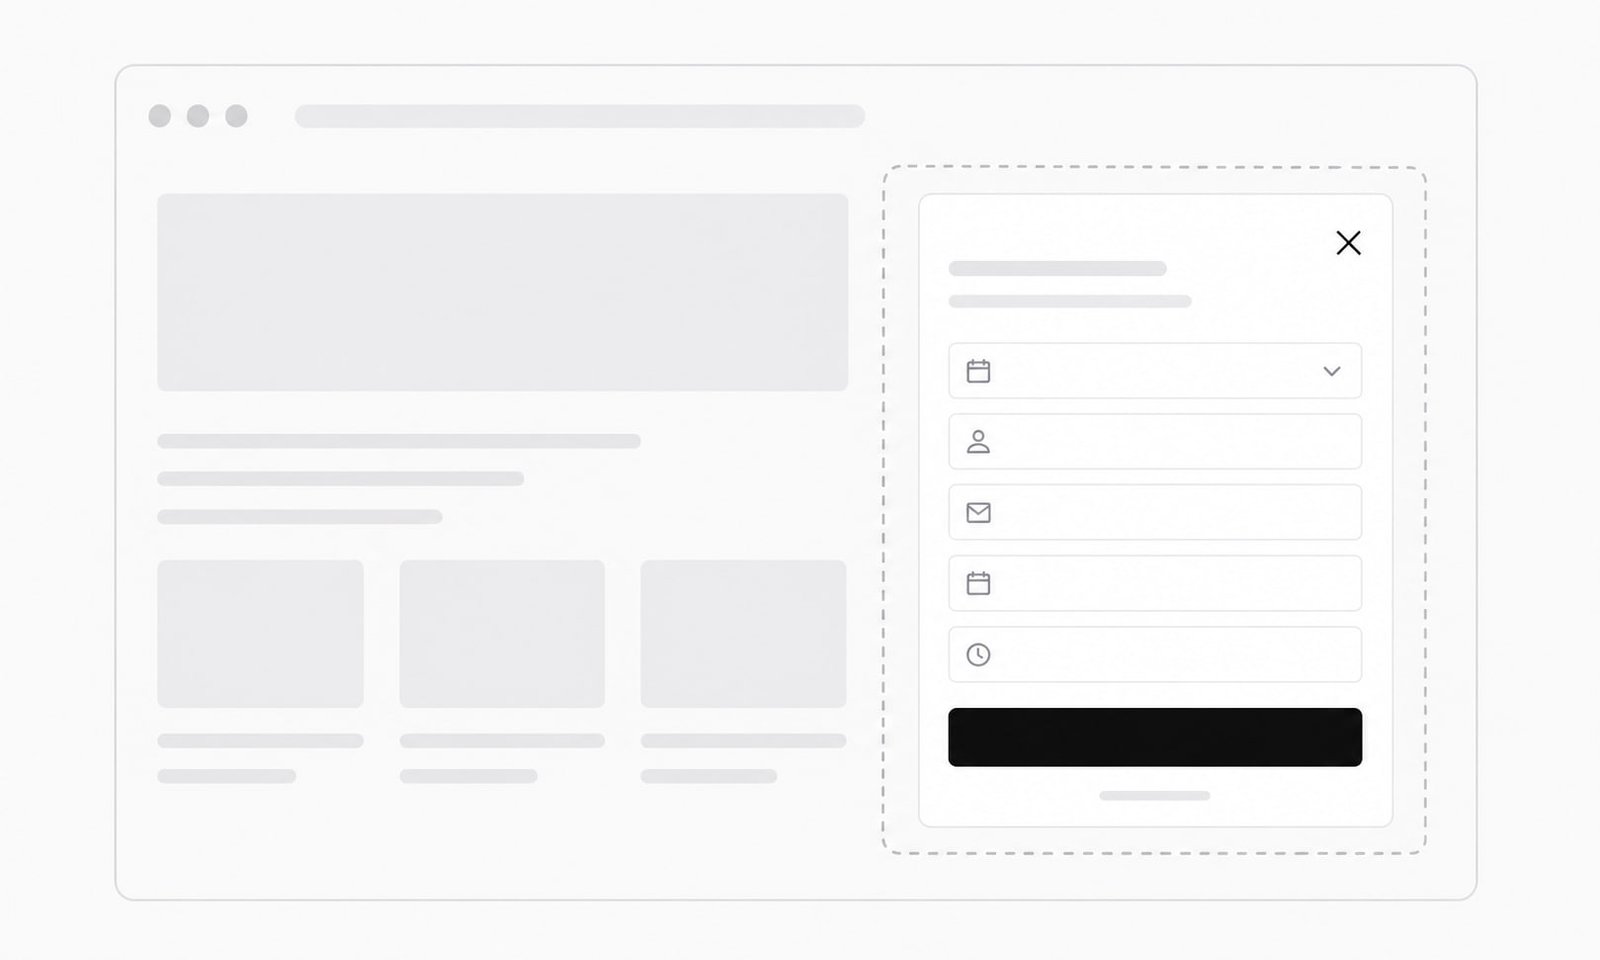
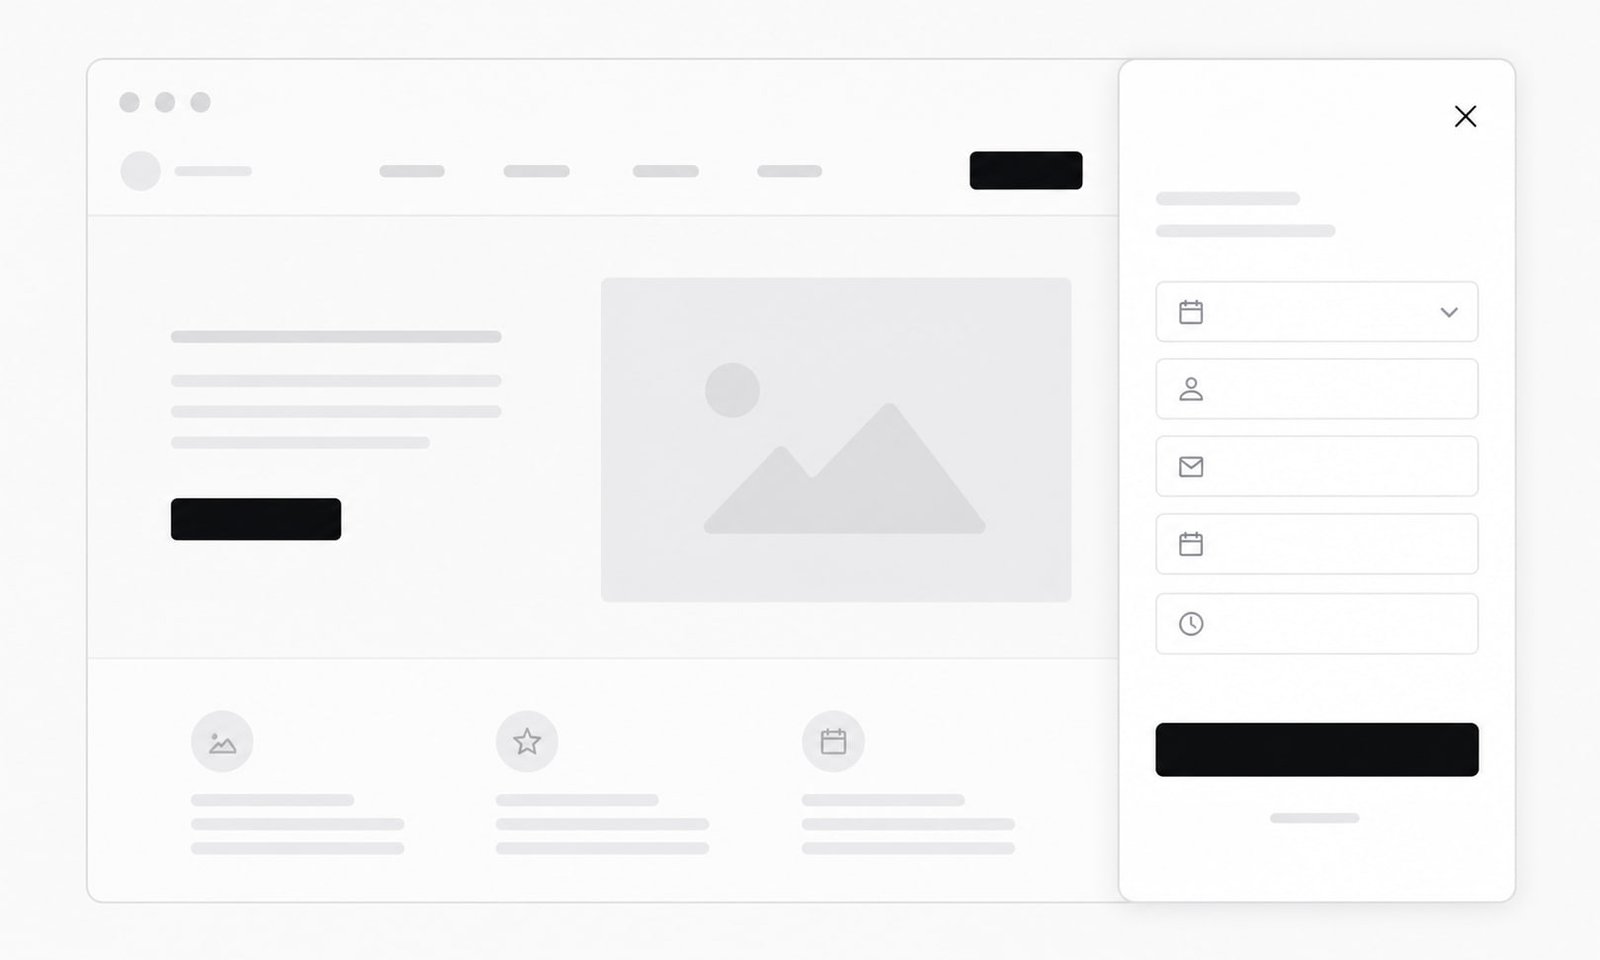
Three ways to add booking to your site
All three options connect to the same Square calendar and send the same tracking data. Pick whichever looks best on your site — you just copy a small piece of code from your iBooker.online dashboard.
1. Floating “Book now” button

Paste once in the site footer — every page gets a Book now button.
<script async src="https://ibooker.online/embed.js" data-ibooker="your-business"
  data-position="right" data-color="#18181b" data-offset="20" data-label="Book now"></script>
2. Booking right on the page
Create a /book page and add the booking form in a Custom HTML block.
<iframe src="https://ibooker.online/your-business?embed=1" title="Book an appointment"
  style="width:100%;height:720px;border:0;border-radius:16px"></iframe>
3. Your own button
Use your own styled button in Elementor or the block editor — it opens booking on click.
<!-- 1) Load the widget once — no floating button shown -->
<script async src="https://ibooker.online/embed.js" data-ibooker="your-business" data-mode="trigger"></script>

<!-- 2) Open from YOUR button or link -->
<a href="#ibooker">Book now</a>
<button data-ibooker-open>Book an appointment</button>
Quick setup on WordPress
- 1Sign up at iBooker.online and connect your Square account.
- 2Copy the embed code from the Embed tab.
- 3Pages → Add New → paste iframe in Custom HTML, OR paste script in footer.
- 4Add Google Analytics and Meta Pixel IDs in project settings.
- 5Book a test appointment and check Google Analytics Realtime.
How to turn on tracking
In iBooker.online open your project → Analytics. Paste your Google Analytics ID (starts with G-) and your Meta Pixel number. Save. From now on every booking sends a “purchase” event with the service name and price — so you can see results in Google and optimize Facebook/Instagram ads for real appointments, not just clicks.